Activating Dynamic Remarketing and Conversion Tracking
Important! You need to connect your Google Ads account to be able to turn on remarketing and conversion.
Activate Dynamic Remarketing

2. Click 'Turn On' across the Remarketing Status to activate Google Ads dynamic remarketing tracking.

3. If you do not want to activate conversion tracking, click 'Save' to save the settings. If you want to activate conversion tracking too, jump to Activate Conversion Tracking section.
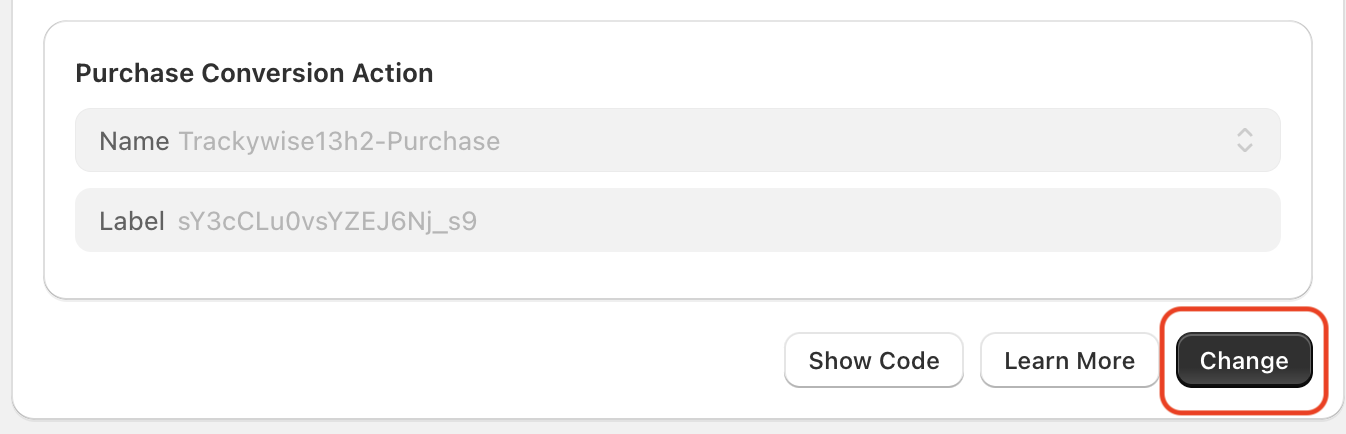
4. After you save the settings, you will be presented with a code to add to your store. Follow the instruction in the pop up and add the code. You can also access the code by clicking 'Show Code' button after you save the settings.

Activate Conversion Tracking
1. Click 'Turn On' across the Conversion Status to activate conversion tracking.

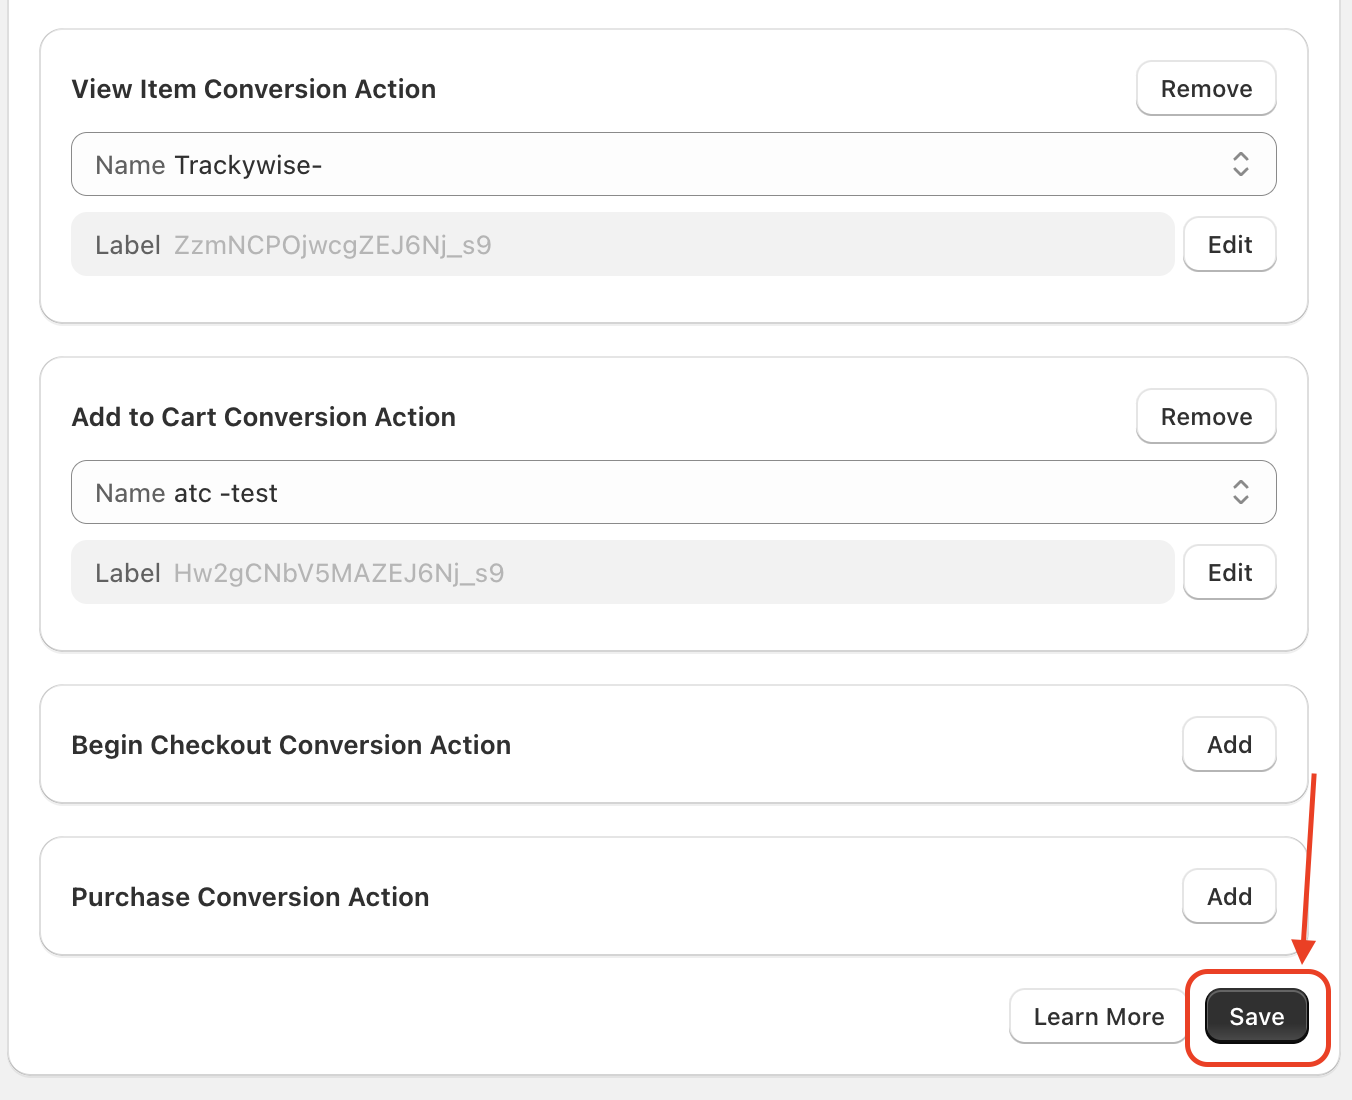
2. You will see the available conversion actions. Currently, you can activate view_item, add_to_cart, begin_checkout and purchase conversions. Click 'Add' across the respective coversion to add the conversion.

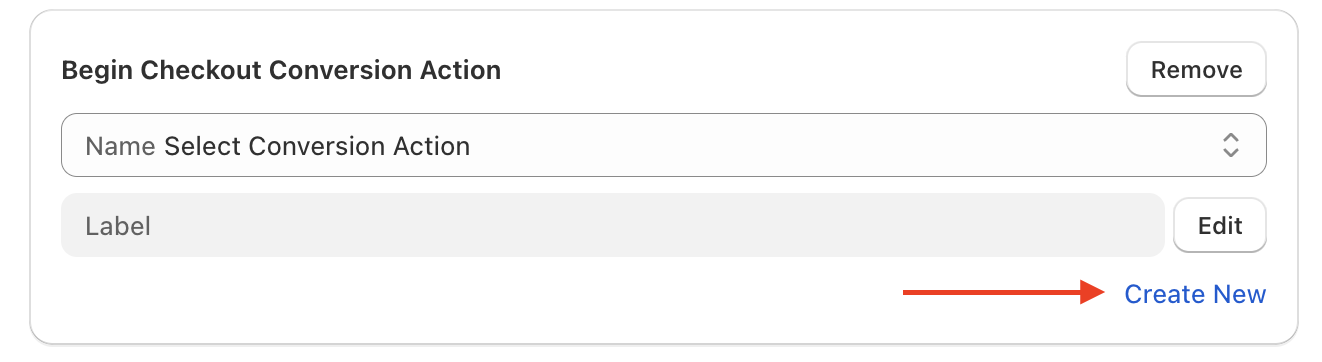
3. You will be able to see the available conversion actions for the respective event from your Google Ads account. Select one to connect to the app.
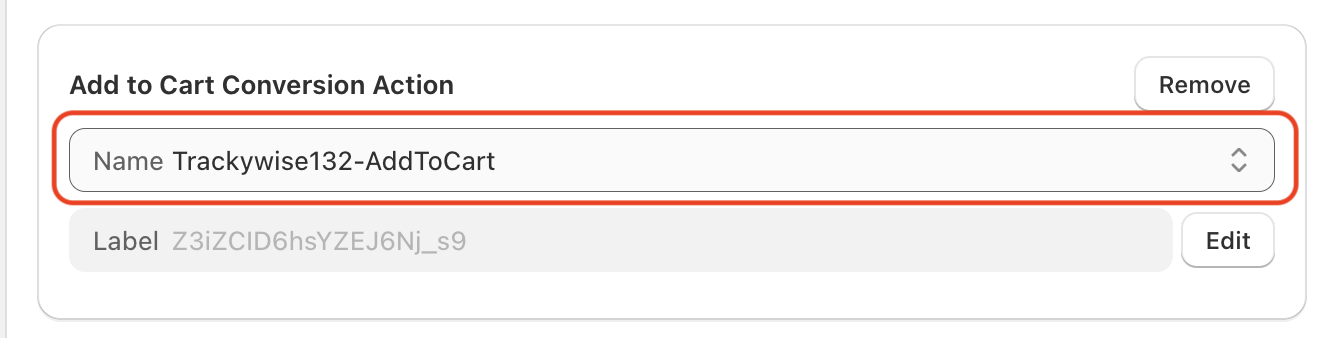
4. When you select a conversion action, you will see the conversion label. Please check and confirm that the label is correct. You can update it if needed by clicking the 'Edit' button beside it.
👉 How to find conversion id and label
6. After you are done, click 'Save' to save the settings.
7. After you save the settings, you will be presented with a code to add to your store. Follow the instruction in the pop up and add the code. You can also access the code by clicking 'Show Code' button after you save the settings.